Showing posts with label tutorial. Show all posts
Tuesday, April 16, 2013
How to Make Horchata
While Dude and I were in Arizona, I had my very first taste of horchata at a teeny Mexican restaurant called Moreno's. If you've never had it, horchata is this amazing milky, kinda spicy drink made from rice. If you like chai tea, you'll love horchata.
Since we got back to Pittsburgh, I've been dying to find some really good horchata and have been failing at every turn.
I tried the grocery store boxed version and it tasted like milk water that had been fermenting inside of a gym sock.
We've been to three different "authentic" Mexican restaurants (as authentic as you can get in Pittsburgh) and only one offered horchata and it was not great.
After that last failed attempt to purchase horchata, I gave up and decided to make some myself.
Making your own horchata is insanely simple. It requires ingredients that you probably have in your pantry right now and no special equipment other than a big jar and a blender.
Tuesday, March 26, 2013
Simple Spring Wreath + FREE Printable!
Truth time: I just took down the Christmas wreath from my front door last weekend.
In my defense, it was just green and snowy and had pinecones all over it so it wasn’t exactly “Christmas-y.”
But still. I started to feel like our mailman was judging my decorating abilities ever since my “Let It Snow” banner stayed up until it was literally falling apart.
Seriously, I found one of the letters in my neighbor’s yard.
Anyways, so I dug through my craft stash closet in out attic looking for something bright and springy and found this.
![]() |
| Source |
Ok, not exactly this one but a grape vine wreath I bought I think last spring. Who knows what project I was planning that never got started...
Anyways, I found the wreath and the wheels started churning. I was thinking bright colors, maybe some rosettes and definitely the word “SPRING” somewhere.
So late last week I made this cute little spring banner.
Then I strung it up on some twine, using the handy-dandy tabs at the top. I made these tabs primarily because I can’t find my stupid hole punch. Feel free to cut them off if you prefer to punch holes instead.
Then I made some rosettes out of scrapbook paper and leftover fabric and hot glued them on. I won't tell you how I made them because there are better tutorials than I could ever give all over the interwebs. But if you need some help, check these out:
Finally, I added a little band along the left-hand side for color. I liked it when I put it on, but looking at the pictures now, I may take it off.
And there you have it! Super simple, quick and easy spring wreath.
If you’d like to make your own, grab a copy of my printable spring banner here. There is a large version and a small version. The small is good for a wreath like mine, the large is good for hanging in a small window or at work.
Have fun and happy crafting!
Background music for this project: Buffy the Vampire Slayer – Season 7, Episode 8: Sleeper
As usual, linking up to my favorite linky parties!
Thursday, March 21, 2013
One and Done: Homemade Burp Cloths
Seems like everyone and their sister - including Dude's sister! - is pregnant right now so I've been going crazy pinning projects I want to make for everyone. I pinned a variation of these super simple burp cloths by Dana at Made ages ago but just this weekend I finally busted out my sewing machine to whip up a few.
It's tough for me to pinpoint my favorite thing about these burp cloths. It could be the fact that they take maybe 10 minutes to put together, or the fact that they look and feel much more expensive than they really are. But really I think my favorite thing is that they stand alone as a great baby shower gift, and make you look like a freaking rockstar if you include them with another store-bought gift.
So anyways, all you really need to make 12 of these cute burp cloths is a yard of chenille fabric and 1/2 yard each of as many coordinating fabrics as you like. You can use silk, cotton, knit, flannel, whatever tickles your fancy. I was able to squeeze 3 out of each coordinating fabric with barely any leftover fabric.
Because these burp cloths are so small, take a look through your scrap bin for fabrics you can use as well. Look at what I was able to find in my scraps!
How adorable are those girly skulls?
So here comes the hardest part. Measure out as many 10" x 18" rectangles as you can on your chenille. I went a little old-school geometry here and measured out 10", dropped the tape measure an inch, measured again, and so on until I had gone the entire length of the fabric. Then connected all my little marks.
Repeat going the other direction for 18".
Now repeat the same procedure with your coordinating fabrics until you have a giant stack of 10" x 18" rectangles.
| If you can't read it, the chili peppers are saying "Caliente!" Adorbs. |
Leave a gap in the pins on one of the short ends. You'll use this gap to turn the burp cloths right side out later.
Sew around the edge of cloths. Using the picture as a reference, I started at the pink pin on the left, sewed the entire way around without stopping and ended up back at the mint-colored pin.
I sewed a pretty large seam allowance on this one, and it absolutely wasn't necessary, but it also didn't hinder the cloth either. These burp cloths are pretty forgiving.
Snip off the corners so when you turn it right-side out, you'll have perfect corners with no extra foofy-ness. That's a technical term.
Using the gap in your sewing, flip the entire cloth right-side out.
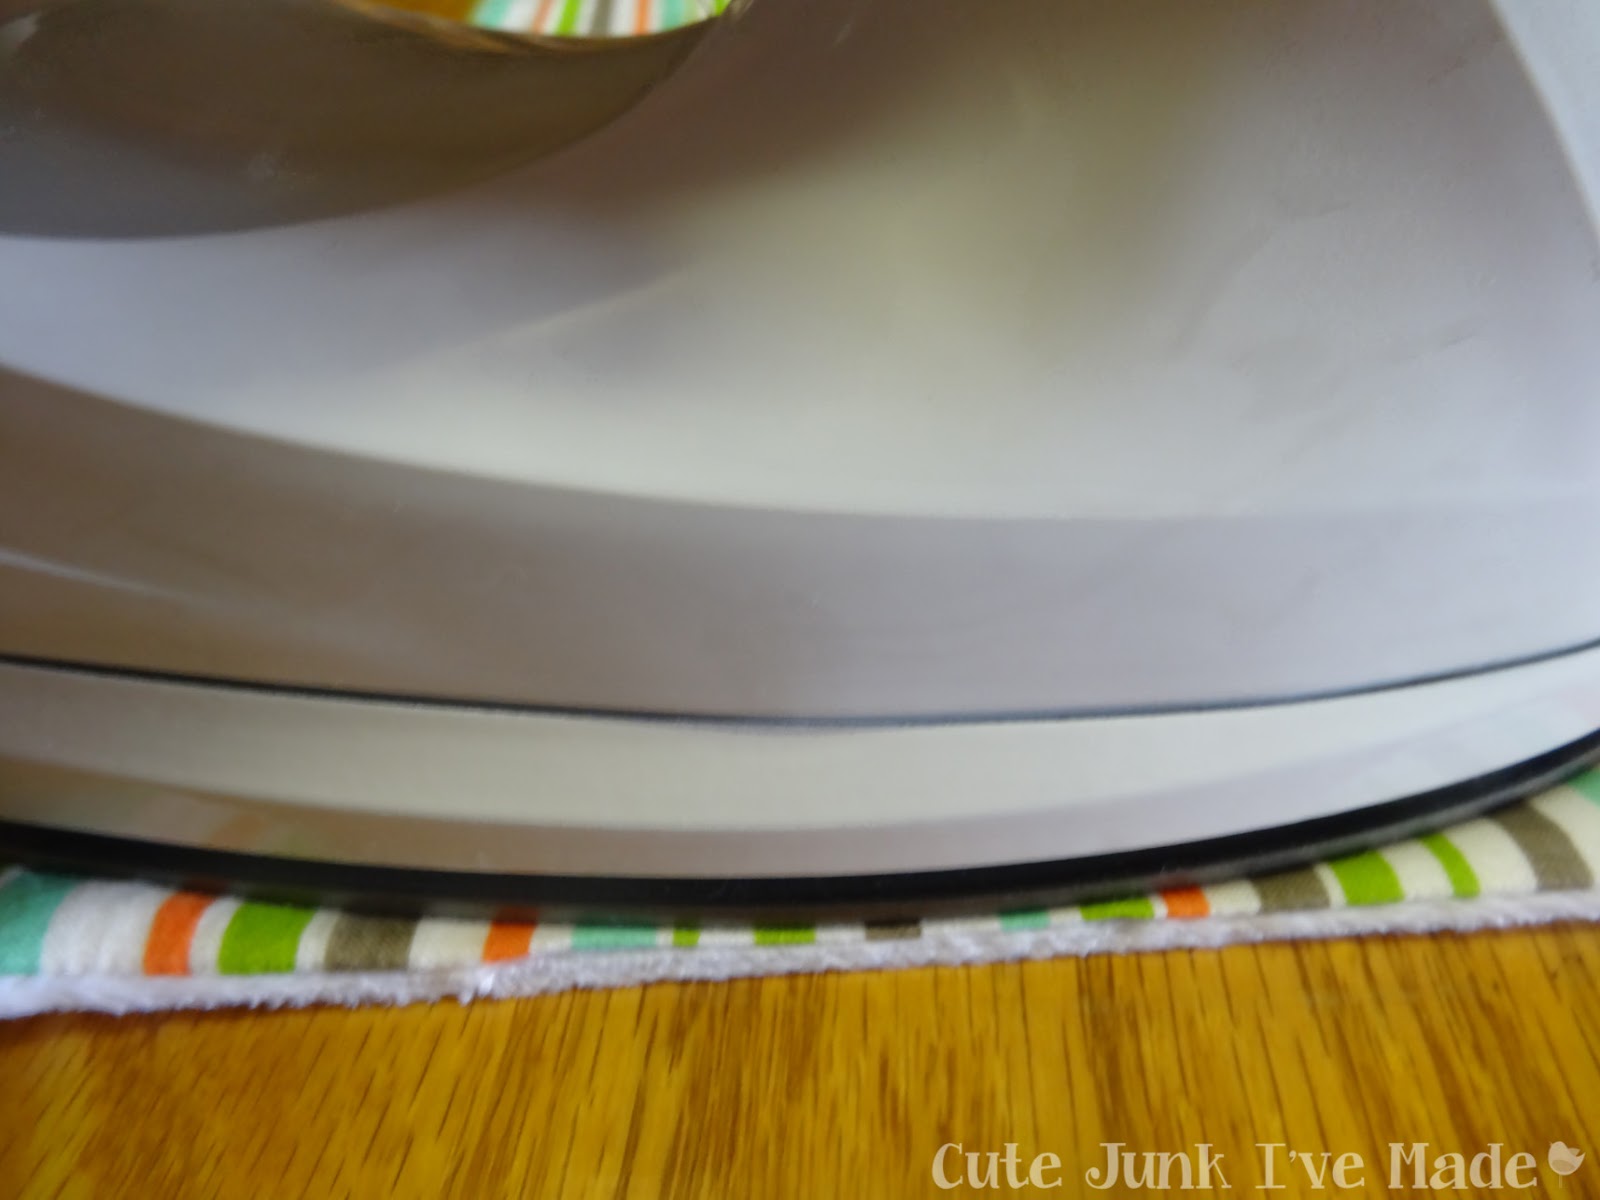
Fold in the edges of the gap and iron it. You can pin the edges in place if you think they need it.
Sew around the edges one more time and seal up the gap. Sew as close or as far from the edge as you'd like, so long as you still catch the extra fabric along the gap.
A decorative topstitch would be really cute here too!
Ta-Da! Donesky!
Close up of the super-snuggly fuzzy side!
For my co-worker's shower this week, I wrapped up three with a piece of coordinating ribbon and added a bottle of natural baby lotion I happened to have on hand.
Must have been on sale?
Linking up to my fave linky party:
Background Noise for This Project: Girls, Season 1: Episode 7: Welcome to Bushwick a.k.a. The Crackcident, Episode 8: Weirdos Need Girlfriends Too
Sunday, March 17, 2013
Spring Cleaning: The Bedrooms - How to Clean & Freshen Your Mattress
Next up in my Spring Cleaning: The Bedrooms series is how to clean and freshen your mattress. Unlike the pillows, this tutorial doesn't have an astounding before and after shot. But what I do have is this.
That, my friends, is what I vacuumed off of our mattress after cleaning it.
Gross motivation. If this doesn't get you going, I don't know what will.
Saturday, March 16, 2013
Spring Cleaning: The Bedrooms - How To Wash Your Pillows
Ok, who else is enjoying some gorgeous springtime weather?? It seems like as soon as I start to see some
sunshine, I am reminded of how dirty I’ve let my house get over the
winter. The dust on the windowsills is
suddenly more apparent, Pepper and Zeke are shedding fools, which results in tufts
of fur rolling across the kitchen floor like tumbleweeds, and the air inside
the house seems so stale with the windows closed.
So as soon as Daylight Savings Time hits (Or is it
ends? I can never remember.), I know it’s
time to start my spring cleaning. Now, I
know there are bajillions of better bloggers than me out there (here, here,
here) detailing their extremely awesome spring cleaning schedules. That’s not what this post is about.
This post is about getting your home cleaner. It’s about cleaning things that are usually
overlooked. It’s about learning some
gross facts that will motivate you into cleaning these overlooked things.
This week, I’m focusing on the bedrooms in my house. I’m talking specifically the beds themselves –
the pillows, the duvets and comforters, and the mattresses.
Did you know, over their lifetime, pillows can absorb THREE
TIMES their weight in dust, dead skin cells, hair, sweat, bacteria and other
yuckies?
I’m sorry I had to share that with you.
Not really, you needed to know so you’d follow this tutorial
and wash your pillows.
Friday, March 1, 2013
Birthday Cake Marshmallows
Ok, let's get this out in the open right now. I LOVE marshmallows. I think this love stems from when I was a kid and my Mom would use marshmallows as a bribe to get me to take my ear infection medicine.
On an unrelated note - was I the only kid to get ear infections constantly? I remember at one point my Doctor telling me that I was not allowed to have any more ear infections because he was tired of treating me.
Maybe I made that up. I was an imaginative kid.
So anyways, I found this recipe on Pinterest while Dude and I were in Arizona and it's been on my to-do list ever since. Last weekend, I picked up a candy thermometer and I knew it was marshmallow time; and can I say, this recipe does not disappoint. The marshmallows turn out light and fluffy, with just the right amount of cake flavor.
If you want to make them yourself, here's what you'll need:
- 2x 1 cup of caster sugar (I'll show you how to make your own out of granulated sugar)
- 2x 2 teaspoons of light corn syrup
- 2x 1 tablespoon of gelatine powder
- 2x 1 large egg whites
- 2 Tbs vanilla cake mix, sifted
- 4 Tbs chocolate cake mix, sifted
- Sprinkles
- Candy thermometer
- Vegetable oil or spray butter for greasing
- Icing sugar for dusting finished marshmallows
First up, cover a 9x9 pan with parchment paper and grease it really well. I used a vegetable oil spray, but I think a butter spray or straight butter or vegetable oil would work just fine.
If you live in a hick town like me and can't find caster sugar anywhere, don't fret! Caster sugar is just superfine sugar and you can make it by throwing regular granulated sugar in a food processor for a couple minutes.
To be honest, I don't think this step is 100% essential, but the perfectionist in me struggles to not follow a recipe exactly.
So the next step is to melt together 1 cup of your sugar and 2tsp of corn syrup with 100ml of water. Why 100ml? Because that's what my inspiration recipe called for and I can't do conversions.
Last time I attempted to convert something from metric to US, I used a half-gallon of milk in a recipe that was really calling for close to a quart.
So now that we can agree I'm an idiot. Dump 1 cup of your sugar into a saucepan.
Then add two teaspoons of corn syrup.
And 100ml of water.
Set the burner to low and simmer until all of the sugar is melted.
While you're waiting, measure out 100ml of water and pour it into a small bowl and sprinkle 1 tablespoon of plain gelatine over the top and let it sit while your sugar melts. This ended up being roughly a packet and a half for me.
Once the sugar has melted, break out your candy thermometer and clip it to the side of the saucepan. Increase the heat to medium high and boil until the temperature reaches 250° F.
When the temperature reaches 250°, immediately remove the pan from the heat and set it to the side while you complete the next step.
Separate one large egg white and pour it into the bowl of a stand mixer. You can still make this recipe if you don't have a stand mixer, it'll just take a bit longer.
Plus, think of how ripped your guns will be if you use a hand mixer.
Start the mixer at medium speed.
While the mixer is going, pour the now jiggly gelatine and water goo to the hot sugar mix.
Whisk them together until smooth.
Bump up the speed on your mixer to high and gradually add the hot sugar mixture to your egg.
Really slowly kids, unless you want to try scrambled egg marshmallows.
Wait, we may be on to something...savory marshmallows... Someone else try this and tell me how it goes.
Beat the egg and sugar until it's glossy and white. This took me probably 3 or 4 minutes. With a hand mixer, I imagine it will take closer to 6-8 minutes. (Think of your ripped biceps! So worth it!)
When the stuff in your mixer bowl starts to look like marshmallow fluff, turn the mixer off and fold in 2 tablespoons of sifted white cake mix. You can always add more if you want a more "cakey" flavor.
Then fold in as many sprinkles as you want. I added 3 tablespoons.
Pour the gooey marshmallow fluff into your prepared pan and put it in the fridge while you make the chocolate layer.
Rinse and Repeat to make the chocolate layer.
Combine 1 cup of sugar, 2 teaspoons of corn syrup and 100ml of water. Heat over low heat until the sugar is melted.
Meanwhile, measure out 100ml of water again and pour it in a small bowl. Sprinkle 1 tablespoon of gelatine over the water and let it sit while your sugar melts.
When the sugar is melted, bump the heat up and boil until a candy thermometer reads 250° F.
After that, immediately remove from the heat. Separate an egg white and put it in your stand mixer.
Whisk the gelatine into the hot sugar; and when it is smooth, gradually add it to the mixing bowl with the egg white.
Let that sucker mix until you have a big old bowl of marshmallow fluff. Or work your arms again. Then you have a free pass to not feel guilty about licking the beaters and the spatula.
Actually I used a stand mixer and I will never feel guilty about licking the spatula. That's just a rule I live by.
Then add in your sifted chocolate cake mix.
| Notice the tiny-ass bowl I was using here to sift the cake mix. If you look closely, you can see the giant-ass mess I made on the counter underneath it. |
Now, avoid turning around and looking at your kitchen for as long as you can. And when you do, just know that I feel your pain.
When the marshmallows are good and chilly, you are less than an hour away from all the marshmallowy goodness you can handle.
The next steps are to cut the marshmallows and give them a light coat of powdered sugar to keep them from sticking together. You can do this by either individually rolling each cut marshmallow in a bowl of powdered sugar...
...or put a little powdered sugar in a plastic bag and dump all your cut marshmallows in there and shake it up.
You can cut your square of marshmallows however you like with a greased knife, but Dude and I found that spraying some spray butter on a pizza cutter was by far the simplest method.
Set your cut and powdered marshmallows on a baking sheet and leave them to dry for an hour.
I know, I know, longest 60 minutes of your life.
To be honest, I didn't taste any difference between the marshmallows straight out of the powdered sugar and the ones that had dried for an hour and the ones that sat in the fridge for 3 days so all you rebels out there, feel free to disregard this final step.
In the name of science, I decided to make a s'more out of these marshmallows. Check out what happens when you heat up homemade marshmallows.
Still good, just not really gooey like a store-bought marshmallow.
Worth every calorie.
Background Noise for this Project: House of Cards - Season 1, Episode 10: Chapter 10
Linking up here:
Subscribe to:
Posts (Atom)