Seems like everyone and their sister - including Dude's sister! - is pregnant right now so I've been going crazy pinning projects I want to make for everyone. I pinned a variation of these super simple burp cloths by Dana at Made ages ago but just this weekend I finally busted out my sewing machine to whip up a few.
It's tough for me to pinpoint my favorite thing about these burp cloths. It could be the fact that they take maybe 10 minutes to put together, or the fact that they look and feel much more expensive than they really are. But really I think my favorite thing is that they stand alone as a great baby shower gift, and make you look like a freaking rockstar if you include them with another store-bought gift.
So anyways, all you really need to make 12 of these cute burp cloths is a yard of chenille fabric and 1/2 yard each of as many coordinating fabrics as you like. You can use silk, cotton, knit, flannel, whatever tickles your fancy. I was able to squeeze 3 out of each coordinating fabric with barely any leftover fabric.
Because these burp cloths are so small, take a look through your scrap bin for fabrics you can use as well. Look at what I was able to find in my scraps!
How adorable are those girly skulls?
So here comes the hardest part. Measure out as many 10" x 18" rectangles as you can on your chenille. I went a little old-school geometry here and measured out 10", dropped the tape measure an inch, measured again, and so on until I had gone the entire length of the fabric. Then connected all my little marks.
Repeat going the other direction for 18".
Now repeat the same procedure with your coordinating fabrics until you have a giant stack of 10" x 18" rectangles.
 |
| If you can't read it, the chili peppers are saying "Caliente!" Adorbs. |
Leave a gap in the pins on one of the short ends. You'll use this gap to turn the burp cloths right side out later.
Sew around the edge of cloths. Using the picture as a reference, I started at the pink pin on the left, sewed the entire way around without stopping and ended up back at the mint-colored pin.
I sewed a pretty large seam allowance on this one, and it absolutely wasn't necessary, but it also didn't hinder the cloth either. These burp cloths are pretty forgiving.
Snip off the corners so when you turn it right-side out, you'll have perfect corners with no extra foofy-ness. That's a technical term.
Using the gap in your sewing, flip the entire cloth right-side out.
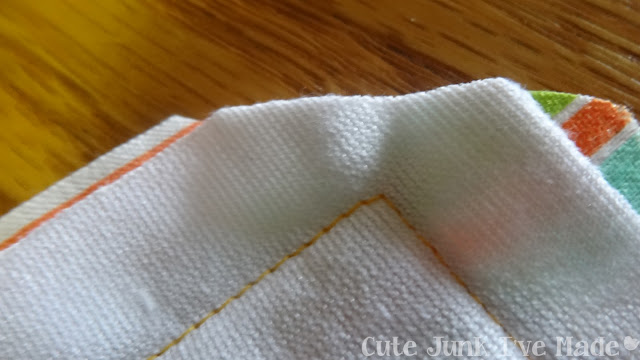
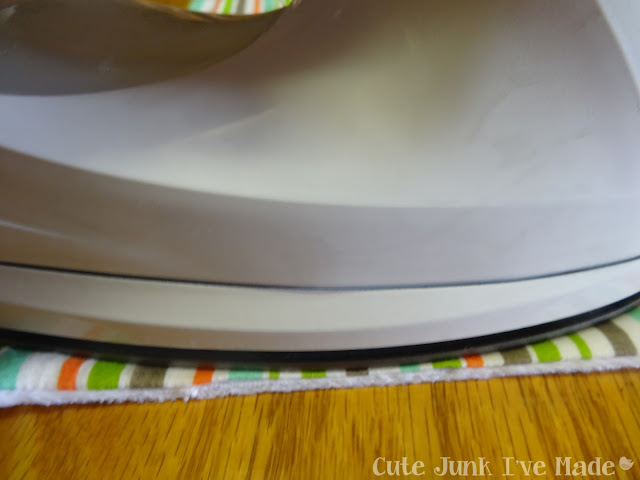
Fold in the edges of the gap and iron it. You can pin the edges in place if you think they need it.
Sew around the edges one more time and seal up the gap. Sew as close or as far from the edge as you'd like, so long as you still catch the extra fabric along the gap.
A decorative topstitch would be really cute here too!
Ta-Da! Donesky!
Close up of the super-snuggly fuzzy side!
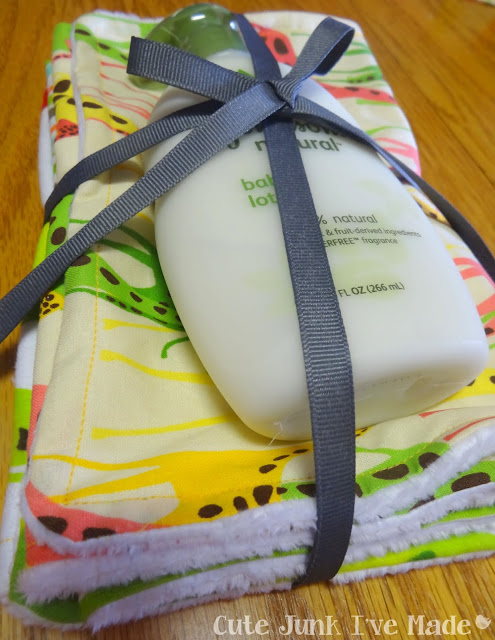
For my co-worker's shower this week, I wrapped up three with a piece of coordinating ribbon and added a bottle of natural baby lotion I happened to have on hand.
Must have been on sale?
Linking up to my fave linky party:

Background Noise for This Project: Girls, Season 1: Episode 7: Welcome to Bushwick a.k.a. The Crackcident, Episode 8: Weirdos Need Girlfriends Too


Super Cute!! Found you over at the Tell me Tuesday link party [ I'm co hosting :)] I love to sew, so REALLY love your post
ReplyDeleteThank you so much! I love your blog, and am following your RSS feed! (:
DeleteLove the fabric! You will be featured tomorrow on Tell Me Tuesday! Thanks for sharing!!
ReplyDeleteTori
This totally made my day! Tell Me Tuesday is my favorite link up! Thanks so much!
Delete